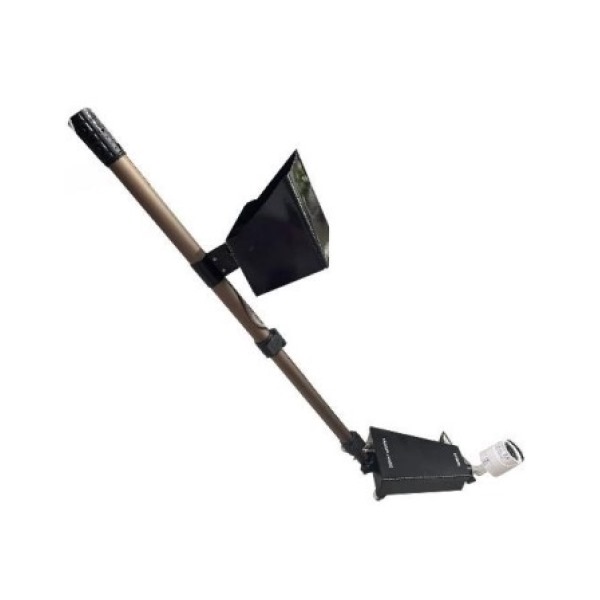
Description
PRECAUTION
1. Use the machine carefully
2. Do not open the machine
3. Charge the System twice a month if in store condition.
4. Don’t use external force to change the camera position.
5. Don’t put external weight on trolley as it may damage it.
6. Ensure all the wires are removed from connector and camera
Position is at center before placing the equipment in suitcase.
7. Ensure the Charger Provided with Equipment should be used for
Charging.
HOW TO OPERATE
For Trolley Inspection
1. First open the box and put outside scanning system.
2. Connect the Camera lead to trolley 4 pin connector at bottom.
3. Connect the LCD wire having 4 pin to Control Unit.
4. Connect the Lead coming from top of Telescopic Rod to 6 pin
Connector placed at back of LCD Shield.
5. Adjust the telescopic rod length and LCD screen positioning and
tight the locks / bolt.
6. Now on main control unit on/off switch and also on LCD screen.
7. Now system is ready, you can rotate camera left and right with
help of two way position switch.
For Pole Cam Mode
1. First open the box and put outside scanning system.
2. Unfasten the Knob of both Camera and Rod connected to Trolley.
3. Remove the Trolley with one Knob and put it in Suitcase provided
4. Attach the Camera at the bottom of Rod and connect it with the
Knob and Fasten It.
5. Ensure the Camera is attached with the rod and adjust the camera
angle as per your need.
6. Connect the Camera Wire with 4 pin connector Lead given
separately with the system and attach the other end to the six pin
wire coming from below rod.
7. Connect the 4 pin wire coming out from above rod to Control Unit.
8. Now on main control unit on/off switch and also on LCD screen.
9. Now system is ready for use. Don’t use LEFT/RIGHT switch it is only
for Trolley Inspection mode only.
TECHNICAL SPECIFICATIONS
1. Power Supply
Battery Voltage : 12 V Li-ion Rechargeable Battery
Operating Time : 25 Hours
Battery Charger : Input – AC 220 +- 10%
Output – DC 12V, 500mA
2. Camera
Camera type : Color Digital
Rating : IP66
IR Distance : 20 meters
IR LED Count : 24
Resolution : 720P
LCD Size : 7 Inches
3. Trolley: Light weight Trapezium shaped Trolley with 3
swivel castor wheels for easy movements.
4. Dimensions
Length of Rod : Min: 0.63 meter Max: 1.3 Meter
5. Weight
Working Unit : With Trolley 4Kg / Without Trolley 3kg
Total System & Case : 15 Kg
6. Indication
System On : Red
Charging : Green
Low Battery : Yellow
7. Working Temperature : -10C to +55C


Reviews
There are no reviews yet.